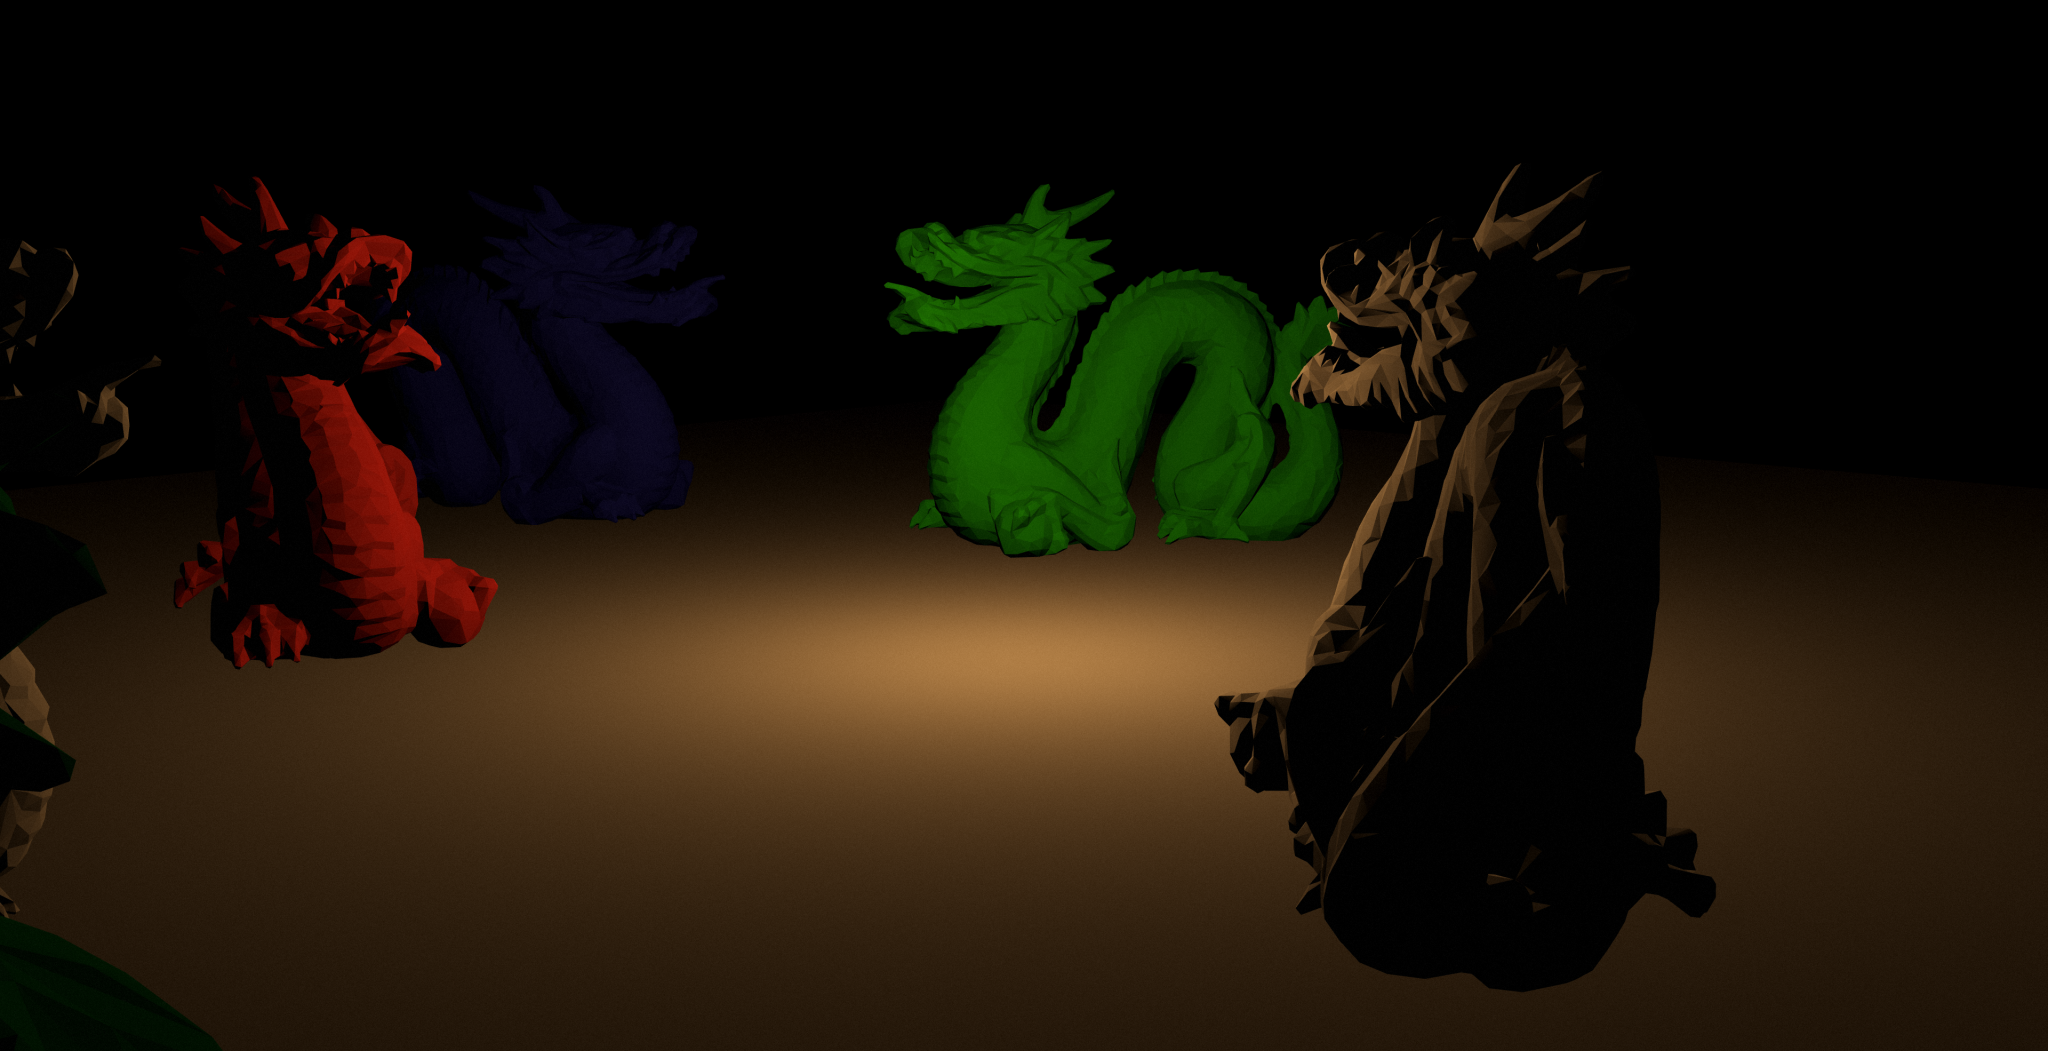
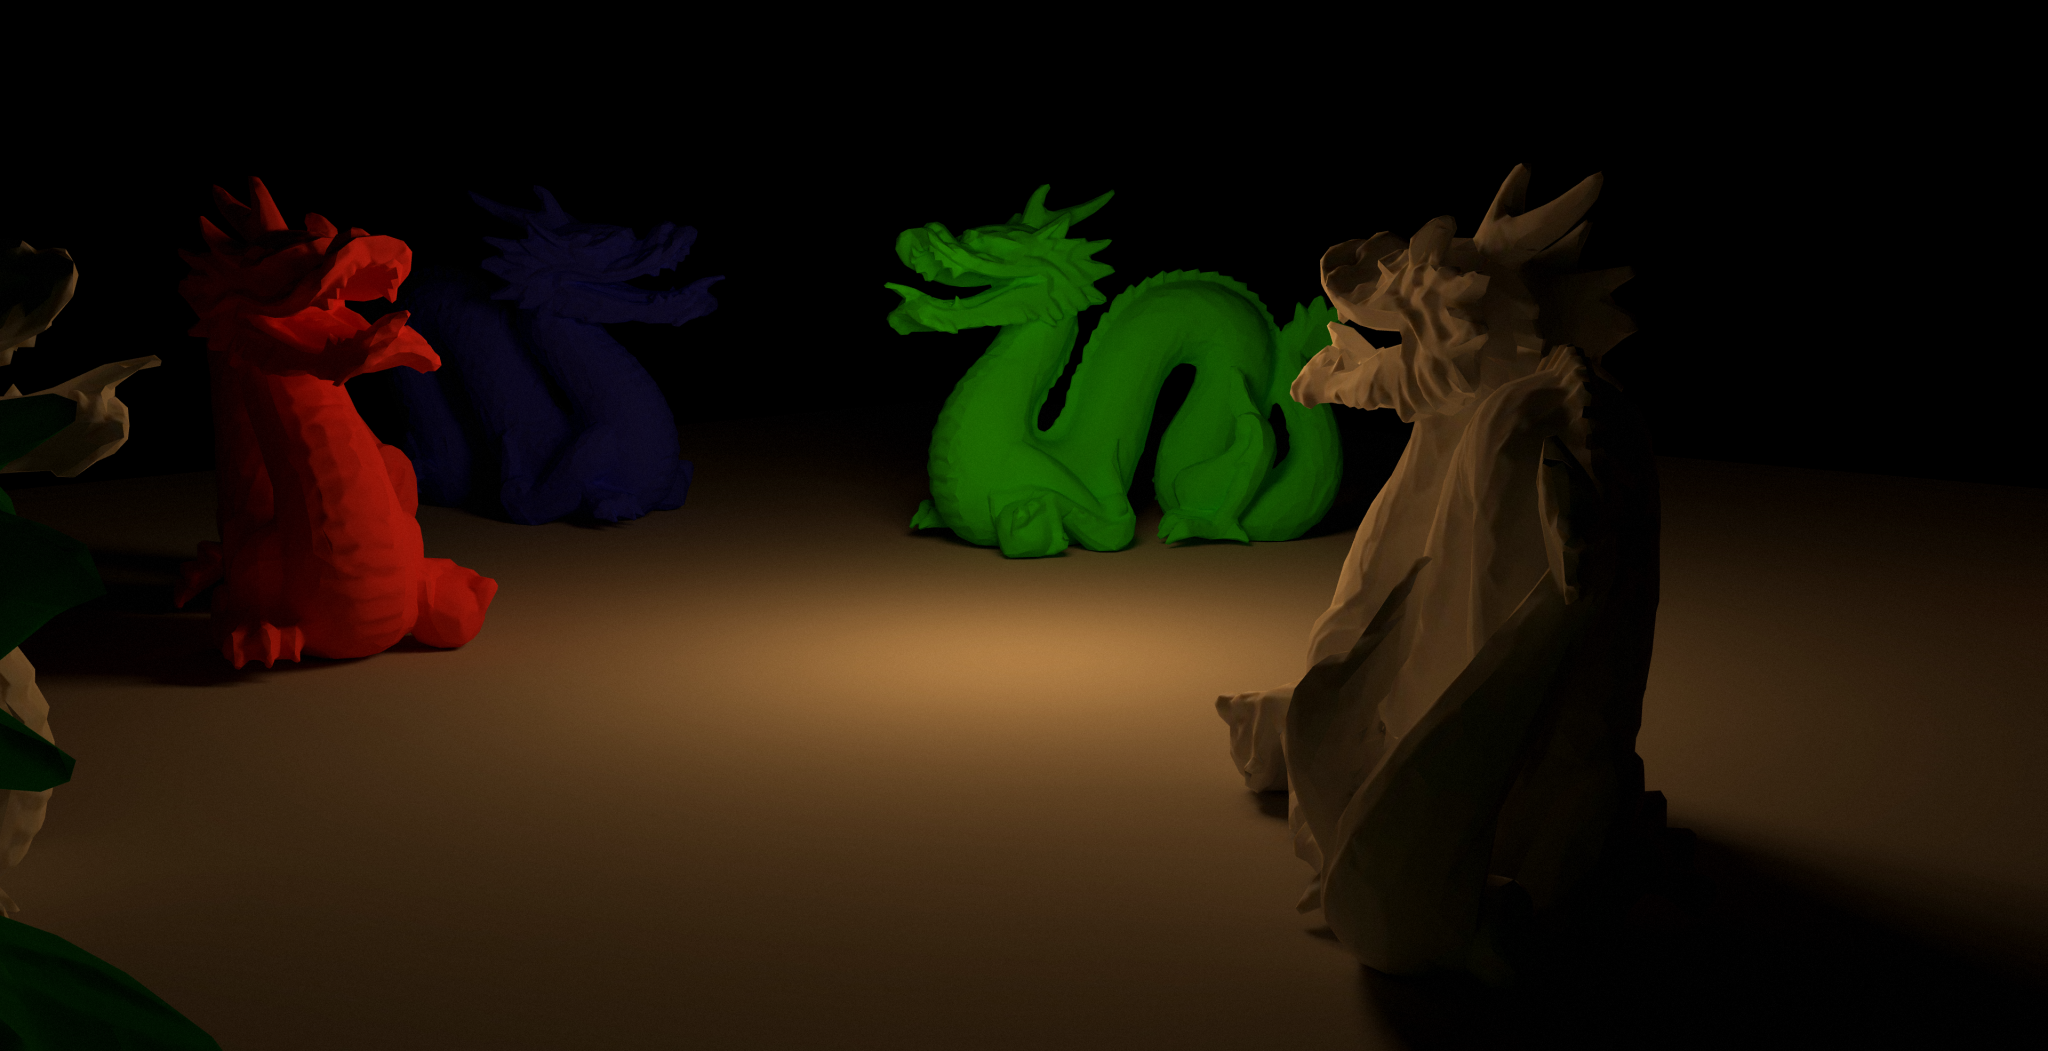
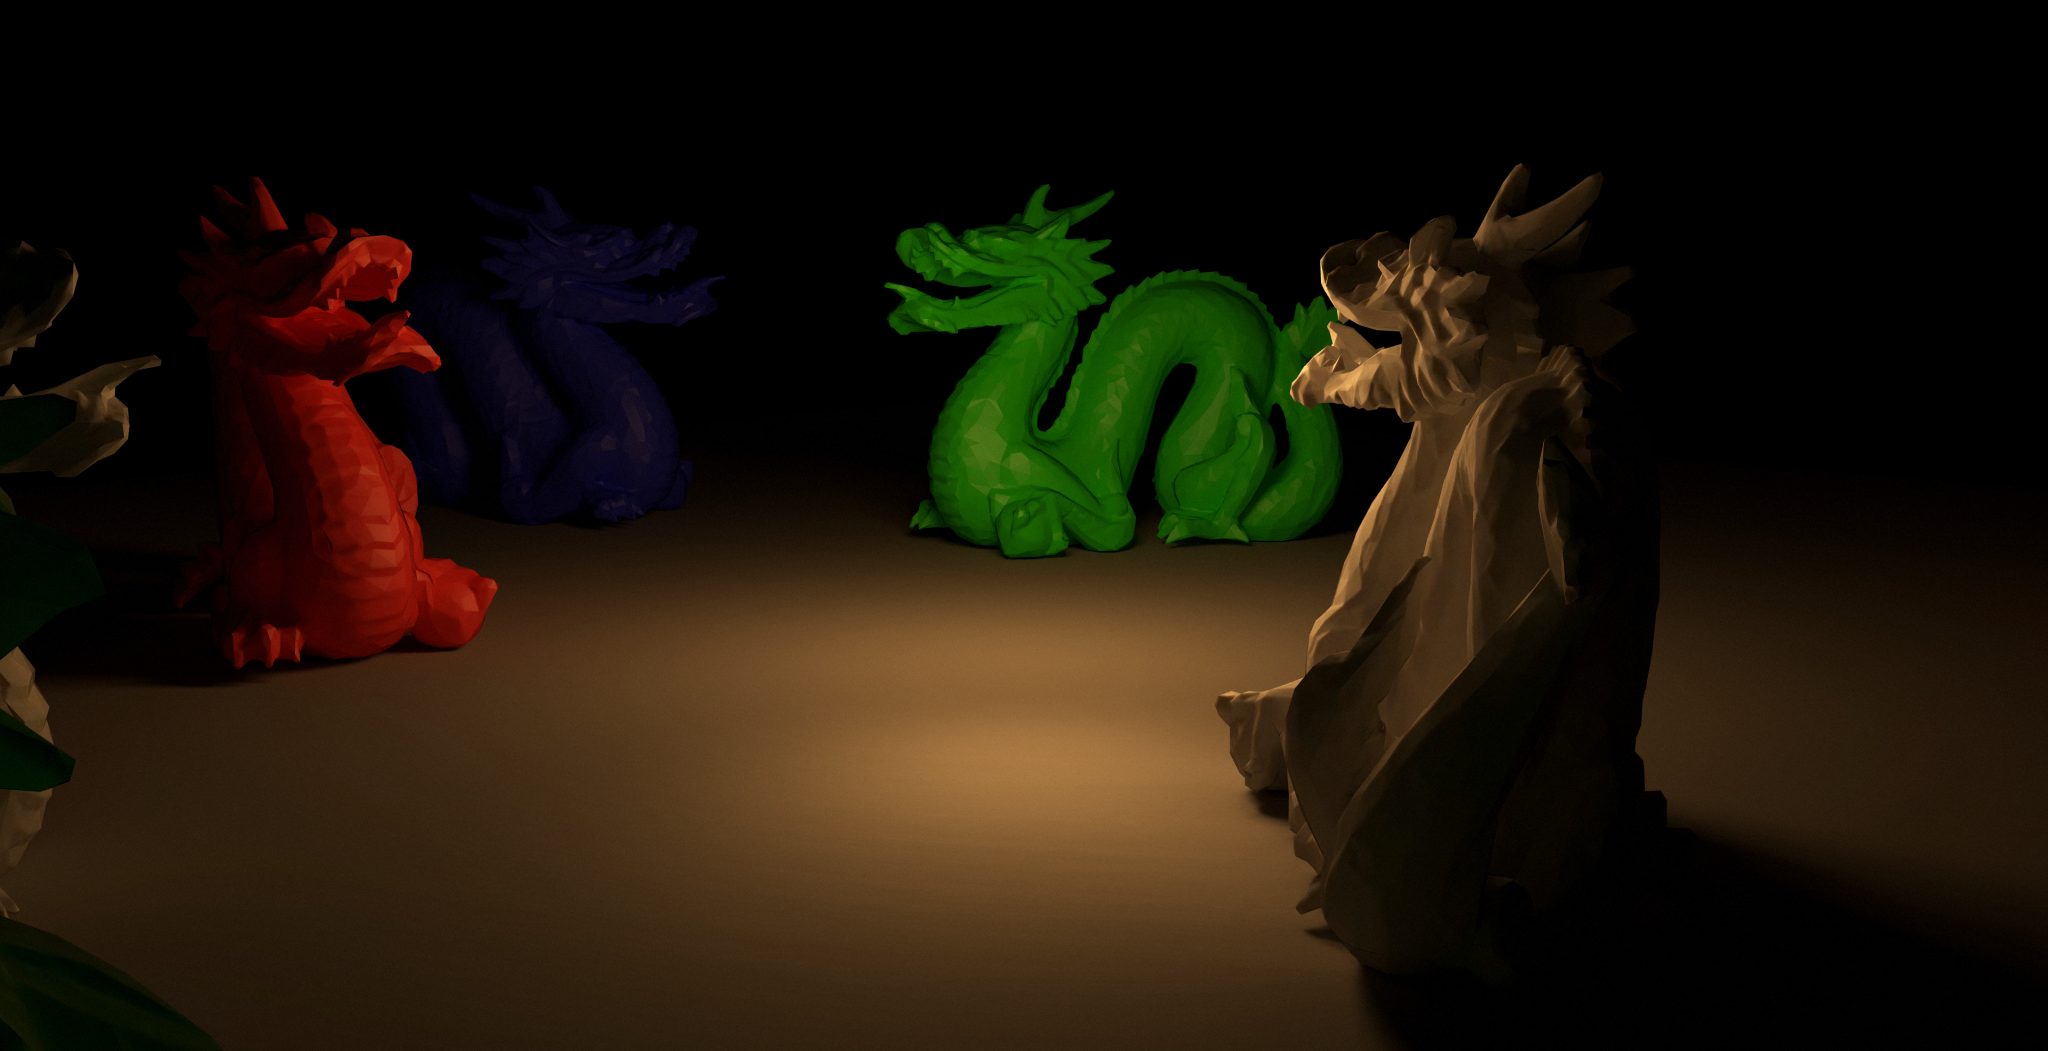
I’ve recently created a simple WebGL demo that showcases a lightmapped scene with multiple instances of the same mesh. This project demonstrates an efficient pipeline for creating and exporting complex, lightmapped scenes for web-based 3D applications.
You can find the demo here.
The Scene
The demo features multiple instances of the Stanford dragon mesh, each with unique lighting despite using a single lightmap. This is achieved through Unity’s built-in lightmap UV scale and offset functionality, allowing for efficient texture memory use.
The Pipeline
- Scene setup in Unity
- Lightmap baking using Bakery
- Custom exporter to convert the scene to JSON
- WebGL rendering with added features:
- Reflective floor
- Phong-based specular lighting
Why This Approach Works Well
Using Unity for scene definition and initial setup has proven to be incredibly efficient. Unity’s built-in lightmapping tools, combined with the Bakery plugin, make it easy to create high-quality lightmaps.
Another significant advantage of using Unity is its inherent separation between game objects and meshes. This distinction is crucial for optimizing the export process and subsequent WebGL implementation. In this demo, despite having multiple dragon instances in the scene, the mesh data for the dragon is exported only once. The game objects then contain multiple references to this single mesh.
This approach offers several benefits:
- Reduced file size: Only one copy of the mesh data needs to be exported and loaded.
- Efficient memory usage: In WebGL, we can load the mesh once and reuse it for multiple instances.
- Easy instancing implementation: This structure naturally lends itself to efficient instanced rendering in WebGL.
- Scalability: Adding more instances of the dragon to the scene doesn’t significantly increase the exported data size.
This efficient object model, combined with the lightmap UV scale and offset technique, allows for complex scenes with multiple instances while keeping data size and memory usage to a minimum.
The real power of this approach lies in its flexibility. By creating custom components in Unity and slightly modifying the exporter, it’s straightforward to add project-specific properties to objects or timelines. This makes the entire pipeline highly adaptable to different project needs.


Similar Applications
I’ve used a similar pipeline in many other projects, including Persepolis, House of Moves, Finely Crafted, and my project Rijkscollection. Each time, the ability to quickly iterate on scene layout in Unity and easily add custom properties has proven invaluable.
The RenderQueue
I have pushed this experiment to the RenderQueue. You can find it here.