I have made another WebGL fragment shader on Shadertoy: Tokyo. This shader shows an abstract, procedural view of Tokyo by night in the rain. In this post, I will write up some notes about how this shader is made. (By the way, I have never been to Tokyo).
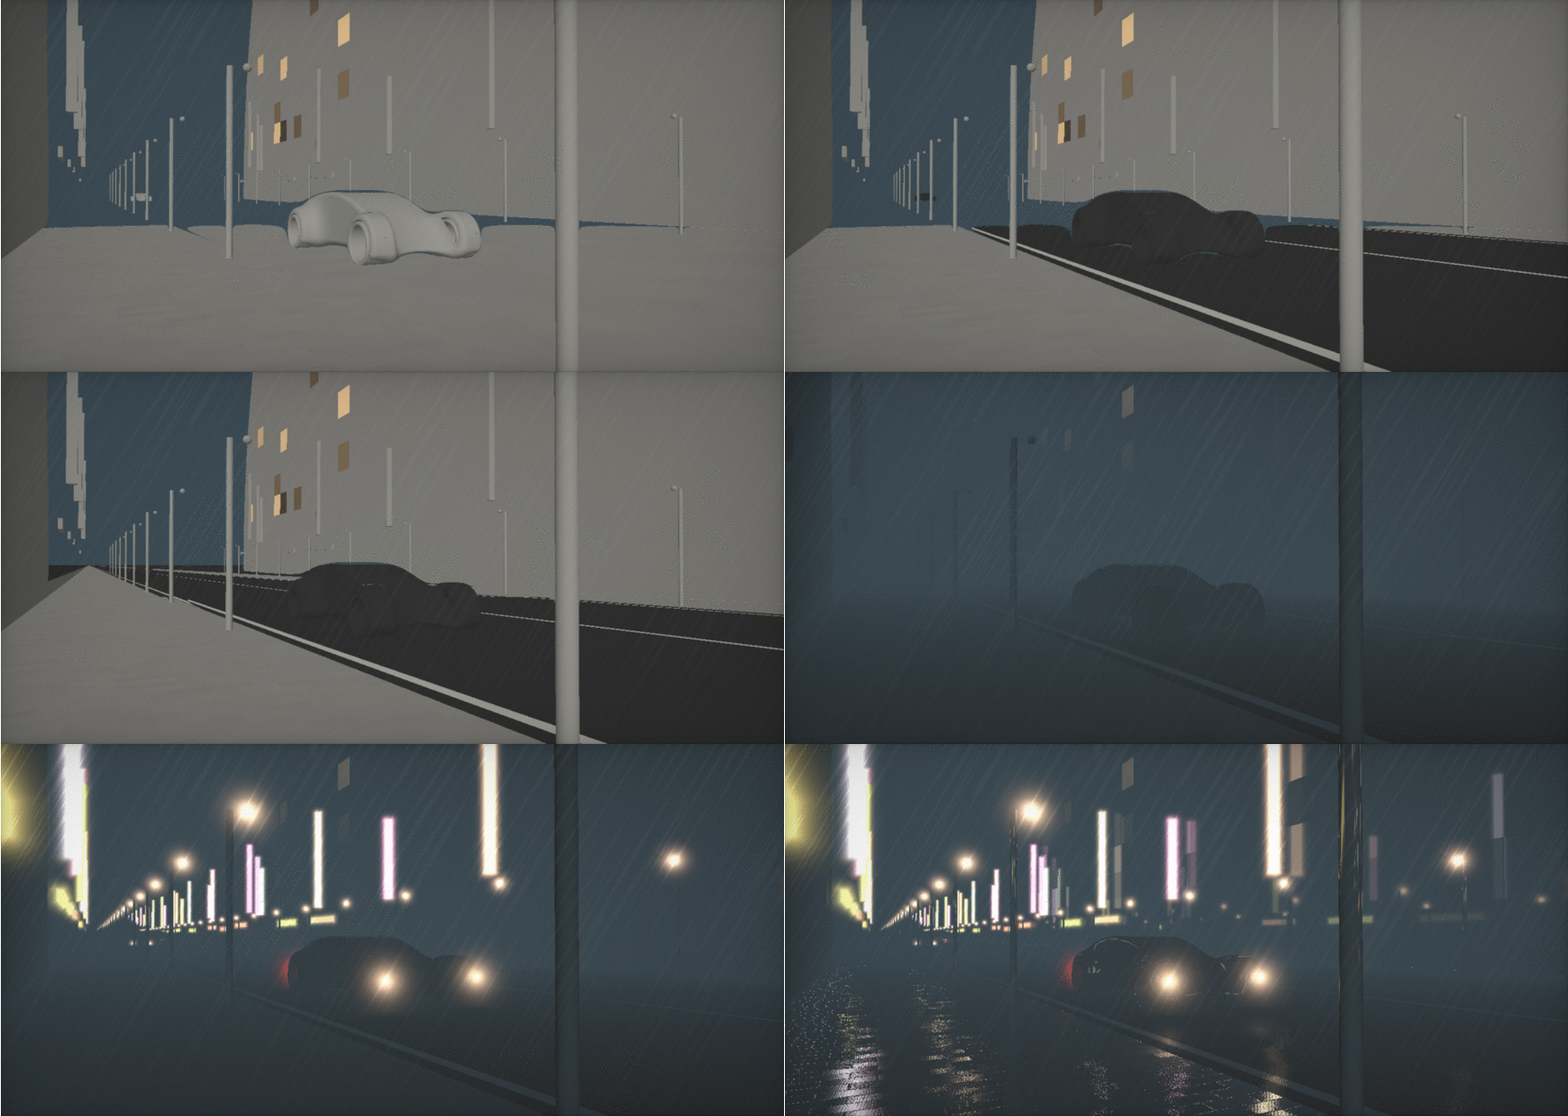
Ray-marching Distance field
Similar to a lot of the 3d-shaders at Shadertoy, the core of this shader is a 3d scene, rendered by ray-marching a distance field.
A distance field is a (signed) function which gives (a lower bound of) the distance to the closest surface at any point in space. To create the distance function of the 3D scene of Tokyo, I combined the distance functions of some basic objects like boxes, spheres, planes, and cylinders. The separate distance functions and how to combine these functions can be found in this article by Iñigo Quilez.
The shader initializes a (3D) ray for each image pixel to generate an image of the scene. With the constructed ray, the scene is marched. At each step, the length of the ray is incremented by the minimal distance given by the distance field function until a surface is hit.
More information about rendering images using distance fields can be found in the (excellent) post by Iñigo Quilez.
A reference shader (also by Iñigo Quilez) can be found at Shadertoy.
Colour and fog
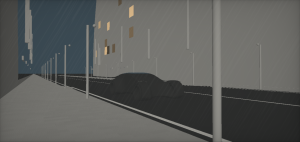
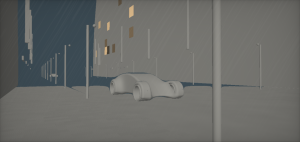
Because I wanted the shader to run at a smooth framerate, the maximum number of steps incrementing each ray (for each pixel) is limited to 128 steps. Therefore, the scene is only rendered to a maximum distance, as seen in the image above. To get a larger view distance, I added an extra intersection check with the ground plane for rays that didn’t hit a surface using the raymarching algorithm.
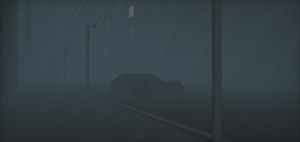
The scene colour is based on the x-coordinate of the intersection point, resulting in a black street, some white stripes, and a uniform grey colour for the sidewalk and buildings. Very dark lighting (it is night after all) and some extra blueish fog are added to the scene to hide the short viewing distance.
Lights
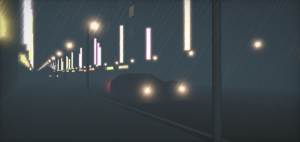
To get the dark, rainy ‘film noir’ mood I was aiming for, I needed some very bright lights with halos. The lights and halos are rendered using the same distance field as the field I used to ray-march the scene to get the closest intersection point.
Some boxes and spheres used to construct the distance field are marked as lights to get the information needed for rendering the lights and halos. While stepping through the distance field, the distance function returns the minimal distance to a surface and keeps track of the minimum of the minimal distance to the closest light (for each pixel). Finally, this minimal distance is used to render the halos around the lights shown.
Reflections
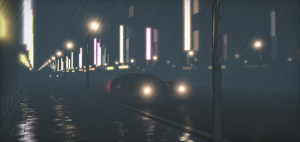
To get the rainy look, reflection is added by raymarching the distance field after the first intersection along the reflection vector. This reflection vector is calculated by the normal (disturbed by some noise and random ’tile-offsets’ for the sidewalk tiles) and the incoming view vector.
The colour of the reflected ray is calculated using the same functions as the colour of the primary ray. Both colours are added, resulting in the final colour of the scene.
Finally, rain is rendered at the top of the scene by animating some stretched noise.
You can find (the full source of) the fragment shader on Shadertoy: https://www.shadertoy.com/view/Xtf3zn.
I have also rendered a movie of this shader. You can find this movie on YouTube.